
Download TSM Tool Latest Version
TSM Tool is an Android device unlocking tool that solves most Android device issues, such as screen lock, Gmail lock [FRP Lock], flashing, MDM lock removal, factory reset, and more. On this page of the TSM Tool, you will find an optional link to the latest version of the TSM Tool, which you can download.
What Is TSM Tool?
TSM Tool PRO Edition Download
| TSM Tool PRO Edition | Version | Setup Size | Release Date |
| You will be downloading | 2026.09.06 | 33 MB | 2026/09/06 03:25:45 |
TSM Tool PRO Download
TSM Tool Features
TSM Tool helps with unlocking, repairing, and flashing various brands of Android devices, covering a wide range of models, versions, chipsets, and security specifications. In this section, we will explore the key features of the TSM Tool and the specific support it offers for various mobile devices.
TSM Tool FRP Support
The most significant feature of the TSM Tool is its FRP support. FRP stands for Factory Reset Protection, a feature found on Android devices. An FRP lock is activated to secure a device against unauthorized use following a factory reset, ensuring that no one other than the owner can use it. If you are asked to remove an FRP lock from a device, whether online or offline, you must first verify that the device actually belongs to the person requesting the unlock. Removing an FRP lock without the owner’s authorization is a legal offense; therefore, before using the TSM Tool’s FRP feature, ensure that the device belongs to the rightful owner.
TSM Tool MDM/KG Support
With TSM Tool MDM/KG Lock Features, you can remove the MDM or KG lock from a device (MDM and KG lock are two different names for essentially the same thing). MDM (Mobile Device Management) is a system that companies or organizations use to remotely control or manage their mobile devices. This allows for actions such as installing or blocking specific apps, altering settings, imposing further restrictions, remotely locking the phone, or enforcing various policies. Simply put, the mobile phone remains under the management control of a company or organization.
TSM Tool KG Support
The TSM Tool KG feature is specific to Samsung devices and is commonly known as “Knox Guard.” KG is a locking system for Samsung Android devices, frequently used to protect or control units that are financed, leased, or managed by carriers or organizations. If a Samsung device has a KG lock enabled, a message may appear on the screen indicating that the device is locked or subject to restrictions imposed by an organization or finance provider. This typically occurs when a phone purchased on an installment plan has had its usage restricted via Knox Guard due to non-payment of the remaining balance.
TSM Tool All Features Unlock & Security
TSM Tool Factory & Device Operations
TSM Tool In this section, we will provide key information regarding the TSM Tool’s Factory Reset support so that users understand how to perform a factory reset on Android devices using this feature. Listed below are the various modes available for factory resetting, along with additional supported functions that allow you to read device information and perform other tasks on Android devices.
TSM Tool Firmware & Flashing
TSM Tool Repair Features
TSM Tool ADB Tools Features
TSM Tool Extra Features ADB-Based DNS-OTA-Factory Reset Controls For Multiple Android Operations.
Samsung Features
Qualcomm Features
MediaTek / MTK Features
TSM Tool App Manager
Network / SIM / Diag
Script & Advanced Tools
Boot / Mode Operations
Protocol / Platform Support
TSM Tool Supported Models
TSM Tool supports a wide range of Android device brands and models that use various chipsets—such as MTK, Qualcomm, SPD, and others. Below are some popular mobile device brands supported by the tool; it also supports many universal models and CPU chipsets.
| Samsung | Huawei | Honor | Vivo | Oppo | Realme | OnePlus | Xiaomi |
| Redmi | POCO | Motorola | Hotwav | Alcatel | Meizu | Nothing | Nokia |
| Tecno | Infinix | Itel | ZTE | Nubia | LG | TCL–LT | Lenovo |
| Lava | Kyocera | BLU | ONN | Positivo | Villaon | Vortex | Mobicel |
| KXD | Stylo | G-Tab | W&O | Etel | Revvl | PRITOM | FOXXD |
How to Use TSM Tool
Using the TSM Tool is extremely easy; anyone using a computer can operate it without issues. We aim to provide as much guidance as possible on this page, but should a user encounter any difficulties, they can reach out via our live support page or social media channels. Additionally, we highly recommend visiting the video tutorial section on the website’s homepage to stay informed about new updates and learn how to effectively use the TSM Tool. To use the TSM Tool, you need an activation license login. If you do not have a login and wish to purchase a TSM Tool license, you can visit our resellers’ page to activate a license online based on your country. Please remember to obtain activation exclusively through our official resellers. After activation, download the updated version of the TSM Tool using the link on the website’s homepage. If the mobile USB drivers are not installed on your computer, download and install all the necessary drivers from the provided USB Drivers download link. When downloading and activating the TSM Tool, download both the standard TSM Tool and the TSM Tool Pro version; both operate using the same license login, yet each supports a distinct set of features. Once the tool is downloaded and installed, you can log in using your credentials to access all the tool’s modules, features, and support functions.
How to Install TSM Tool on Windows
Installing the TSM Tool on any Windows operating system is very easy. The TSM Tool is compatible with all Windows systems, and the TSM website provides updated download links for the tool and the necessary USB drivers, so users can download and set them up with a single click. If you are new and want to install the TSM Tool on Windows 8, 10, or 11, download the TSM Tool and TSM Tool Pro setup from the top section of this official homepage. Additionally, USB download links are provided just above this area; simply click on them to visit the USB download page, where you can download and install all the necessary USB drivers.
You now have the TSM Tool installation setup (.exe) and the USB drivers. Double-click the setup application to open it and proceed by clicking “Next” at each step; the TSM Tool will be installed with just a few clicks. Once installed, open the TSM Tool and log in using your license login ID and Password.
How to Connect a Phone With TSM Tool
This can be an important question for users who are new to the world of GSM unlocking. Most mobile technicians try to learn from YouTube, and a great deal can indeed be learned there. The specific question at hand is: how do you connect the phone to the TSM Tool? Essentially, the aim is to determine in which mode the mobile phone should be connected to the computer via USB cable to resolve the issue at hand using the TSM Tool. The simple answer and solution to this question is to first read the features and support section for the TSM Tool—located slightly further up on this very page—where all the connection modes are outlined. It is also important to understand that each mode operates differently. For instance, I have listed some modes and procedures below that will help you easily grasp the process.
Mobile phone connection modes with the TSM Tool
MTK (MediaTek):
Before proceeding, you should know the brand and model of your mobile device, the type of CPU chip it uses, and the specific issue you intend to resolve using the TSM Tool. If you are working with a MediaTek device and the TSM Tool supports ADB, BROM, or Meta modes, you must connect the device while it is powered on—provided ADB mode is enabled—to utilize these modes. When using a USB cable—provided the device supports BROM mode—you navigate to the brand section, select the specific model or “Universal Mode” from the chip category, and initiate the feature; you must then turn off the mobile device and connect it to the computer via USB cable while holding down the volume keys (boot keys +-), allowing it to connect to the tool in BROM mode. If the device supports Meta mode, you select the corresponding feature to start and connect the mobile via USB cable without pressing any boot keys; the device will automatically boot into Meta mode, and the TSM tool will resolve the specific issue based on that feature.
Qualcomm CPU Mode:
Qualcomm mode encompasses various modes such as ADB, Fastboot, EDL, Sideload, and others. Users are likely already familiar with ADB, while Fastboot mode is accessed differently depending on the device—details which can easily be found via a YouTube search. EDL mode is primarily used with Qualcomm chipsets, and the device can boot into EDL mode in two ways. The first method involves using a boot key, while the second utilizes a test point. For the test point method, one must locate the boot point on the device’s hardware, short-circuit it using pointed tweezers, and connect the device to a computer via a USB cable to initiate booting. There is also a technique known as ISP (In-System Programming), which requires precision; it involves identifying tiny points on the device’s board—sometimes requiring delicate work near the CPU—and connecting them using jumpers. Most technical experts now use microscopes for this task, enabling them to create jumpers on even the smallest hardware connection points.
You now likely understand that different CPU chips have distinct booting modes that allow the mobile to connect with the flashing tool. Similarly, there are modes such as SPD, Diag, and various others. You simply need to learn how to boot the device into these specific modes.
TSM Tool FAQ
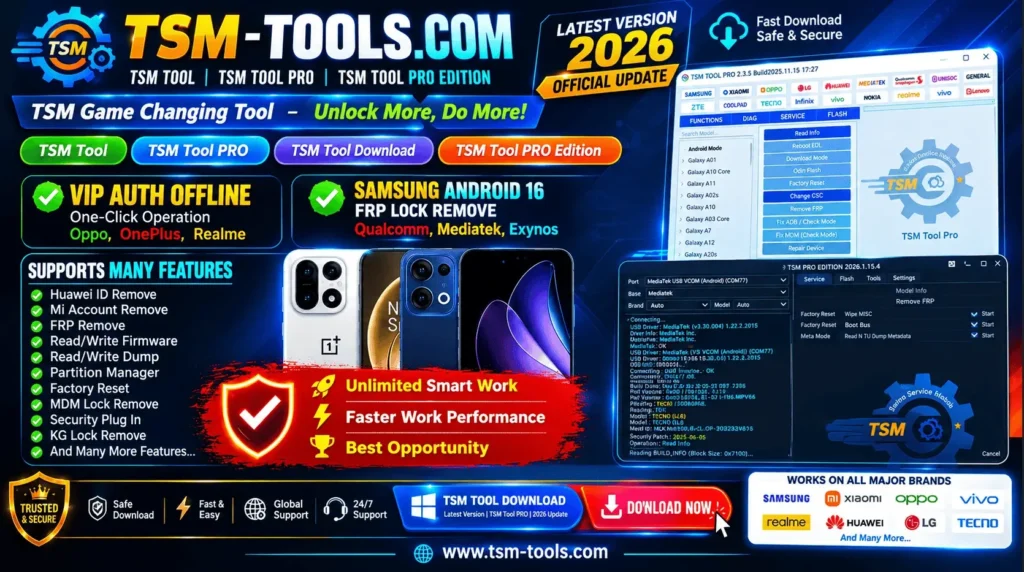
What Is TSM Tool?
TSM Tool is an Android utility used for unlocking and flashing Android mobile devices.
What Is TSM Tool PRO?
TSM Tool Pro is the advanced version of TSM Tool, featuring additional capabilities; the Pro version also receives the majority of new features and support updates.
Where Can I Download TSM Tool?
The TSM Tool can be downloaded from the official website. If you search for “Download TSM Tool” on Google, you will find the official download link on any of the top 10 listed websites.
Is TSM Tool Free?
Is the TSM Tool free? This is a frequently asked question online, as many users hope to find a free workaround or a cracked version. However, this is not possible; there is no free version of the TSM Tool. Instead, it offers monthly and annual licenses at a very low price, allowing many technical experts to benefit from its features and support.
What devices does the TSM Tool Support?
TSM Tool supports multiple models of Android-brand devices, including all Samsung series [A,C,F,J,M,S ] And Z Fold/Flip series. In addition, [ Oppo , Realme, Oneplus, Huawei, Honor, Motorola , ZTE, Nubia, LG, Nokia, TCL, Lenovo, Itel, Infinix, Tecno, Redmagic and Nothing ] brands of mobile phones are included, including flashing, unlocking, FRP lock removal, MDM, KG lock and many other support features.
TSM Tool Activation License Official Partners
TSM Tool provides three types of license activation to its users which include 3 months, 6 months and 1 year license activation. You can buy TSM Tool activation from any country in the world. For this, TSM Tool team provides its Official reseller partners so that you will not be cheated. If someone has taken a license activation of TSM tool from a third party and has committed fraud with it, then TSM Tool team will not be bound to take any action on it. If you users get activation from our Official partners support page contact, then we will help you users in any deception or fraud. If any partner license activator takes money and commits fraud, then users will have to provide all chat screenshots and the payment receipt date along with our help support; after that the team will solve your problem within 48 to 72 hours.